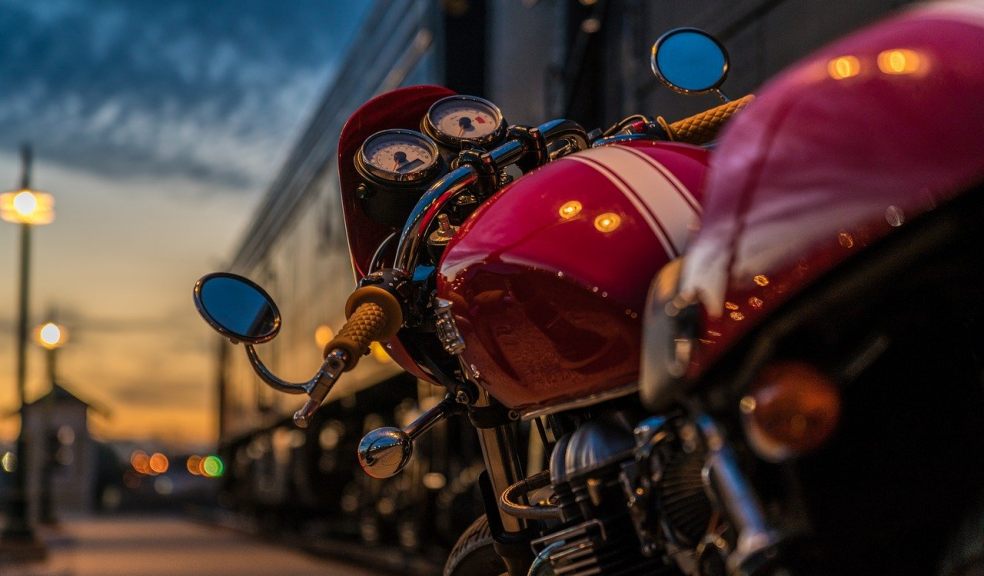
DIY Motorcycle Sound System: Building and Installing
Riding a motorcycle in silence may be annoying to many, especially if you make a long journey. On the other hand, a sound system can remove your monotony and make you cheerful. Many people love to listen to music for three to four hours a day! It is a horrible dream to them if there is no sound system in their motorcycle.
Motorcycle sound system should be moderate, not too high. Otherwise, you may experience two types of severe problem. While riding on your bike in the heavy traffic, you may not hear other vehicle’s horn. As a result, you may have an unwanted accident. Secondly, it should be safe for your ears. People are also seen to listen to their favorite music with high volume, which is bad for their hearing system.
That’s why using headphones to listen to your favorite music at the time of riding on a bike may be harmful to you. Alternatively, you can build and install your self-made sound system to your motorcycle and play your favorite music on the go. The whole process of building and installing a DIY motorcycle sound system to your bike does not require too much effort. Plus, you can save your money as well.
In this short but well-described article, I am going to share with you the exact process I applied to build and install my sound system to my motorcycle. It is pretty easy to follow. And if you can do it yourself, you can save your money. I have mounted the speakers to my handles. But you can choose your own.
Without further ado, let’s jump into the details.
Step one: Arrange a few common parts
Before starting to making your sound system, you should buy some essential components for your audio system. You can get them from any online shop like Amazon or eBay. They are:
=> Two clamps to attach the speakers to the handle
=> Halogen driving light tool
=> Two mid-range speakers
=> Four metal washers
=> Wire and switch to on and off
=> A mini amplifier can add extra sound
=> Electric wire tape to wrap the wire to the motorcycle
Step Two: Remove lights from halogen light
You may find halogen lights inside the halogen kit. Remove them safely and replace the speakers into them. Your speakers may not fit into them well. In this case, all you need to do is to cut the plastic edge of the speakers so that they can fit well.
Also, make sure that you do not cut the speaker itself. So, be careful at the time of cutting the plastic edge. When they are ready to fit into the halogen kit, place them and apply some glue with the speaker's corner, so it does not wobble while riding the motorcycle.
Step Two: Assemble both speakers
In this step, you have to follow and repeat the same process of stage one. When both speakers are ready to install into the halogen kit, add the screen window to them. Before adding the screen window, cut them in such a way that they can fit snugly to the speakers.
Step Three: Mount the speakers to the handle
Point to the handlebars where you prefer to install the speakers. You should mount the speakers to the handlebars with the clamps tightly. Also, don’t forget to use washers at the top and bottom so that it keeps in a position strictly. Otherwise, the speakers will wobble while you drive your motorcycle.
With a wrench, tighten them well and try to shake them. If the speakers are not shaky, your installation of speakers is almost done. Now, it is time to assemble your wiring system to your speakers from the battery.
Step Four: Connect the wire
In this step, you should keep an eye on the wires to conceal them on your motorcycle. The cable should run under the tank and reach the location of the amp. You can place the amp in several locations you prefer. You can put it under your seat, tank bag, saddle bag, or under the headlight.
Now connect the amp to the audio source, including mp3 player, CD player, or AM/FM radio. Make sure you have used the electric tape to secure the naked or joint of the wire. If not, there may be a short circuit attaching to the body of your motorcycle.
Step Five: Test before riding on your bike
As you have completed building and installing your favorite sound system to your motorcycle, it is time to test before you go driving. If you see there is a problem playing music, double-check the connection of the wire at first. Also, find out the fault where it is. Sometimes, it so happens that you forgot to secure the naked wire, and it keeps in contact with the bike’s body.
In this case, secure it with the tape well and then try again. Your plug may not connect properly. Though these are straightforward tasks to follow, I would like to mention. Simple things may be a cause of great ideas sometimes.
Final Thought
It is more fun and enjoyable while riding on your bike, listening to your favorite music. Building and installing your sound system to your motorcycle not only save your money but also increase your confidence. At the end of the day, you will find happiness in you.
Make sure you never play your sound system too high volume. You may not hear the horn of other vehicles, which may lead you to a severe accident you don’t want.


