


Wrap a Gift Like a Pro in 6 Easy Steps
Whether the season of giving is finally approaching or you need to send out a few presents to your friends celebrating their birthdays, it sure pays a lot to know some pro tricks in gift-wrapping.
Nothing beats the satisfaction of seeing your loved one or friend's reaction when you hand them out their beautiful presents. Despite how simple it can be, they'll appreciate your efforts in hand-picking the gift and most especially for wrapping it into a fine-looking professionally-wrapped present!
If you have usually sent out your gift items to the gift-wrapping section in the department store, perhaps it's time to pause with that habit and put your gift-wrapping skills to the test. It might surprise you how fun, exciting, and therapeutic it is to do all the gift wrapping by yourself. Not to mention, it’ll save you costs, too, considering how gift-wrapping services entail hefty price tags.
If you're hesitating because of your basic artistic skills, don't worry; here are some pro tips that’ll make your present look as if a professional wrapper worked on it.
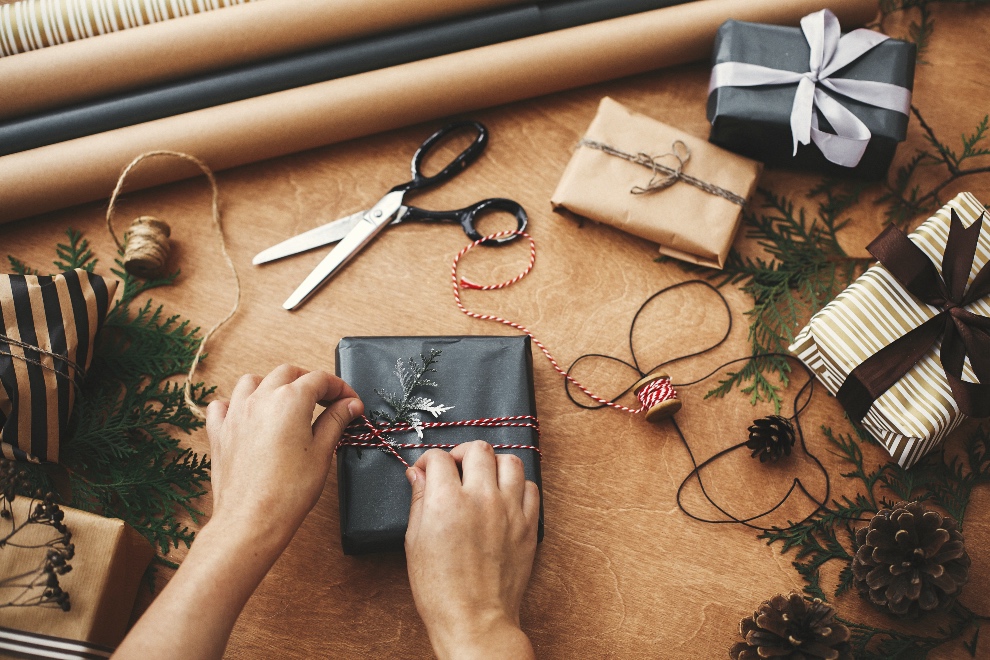
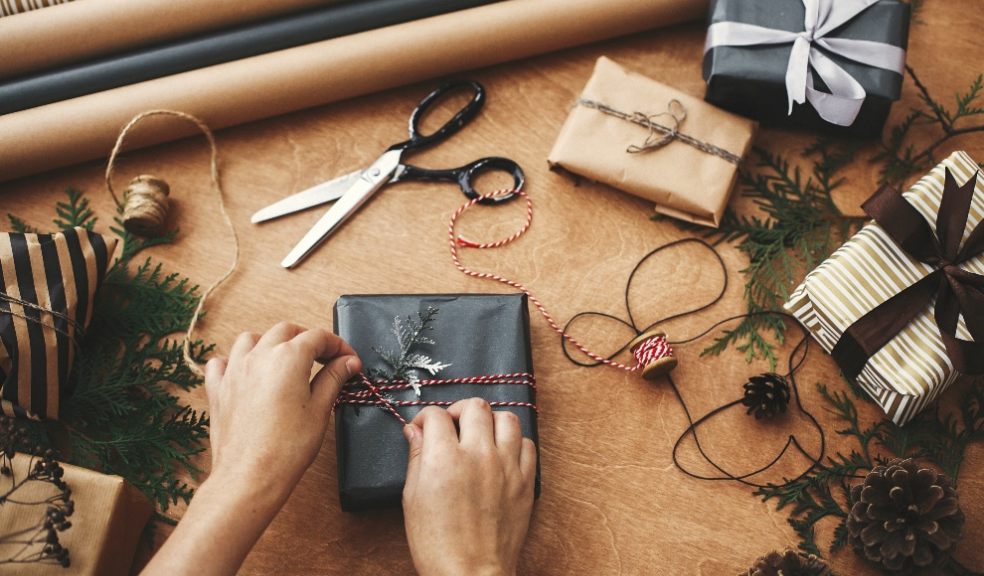
- Secure all the wrapping materials and tools needed
First thing's first; you need to secure all the materials and wrapping tools you need for your gift-wrapping session. Check out the stuff you need from the nearest stationery store near you, or find fantastic packaging stuff from cool online stores like Packaging World. To get started, consider securing the following items:
- Wrapping paper
Paper choices are a matter of personal preference. In fact, you’ll have access to a wide assortment of gift wrappers. However, try to go for thick papers as they’re easier to handle and more durable too. It’s easier for you to fold them neatly and create the appropriate shape to fit the gift.
- Gift packaging
Depending on your chosen item from the gift guide, it’d be best to have it contained in a box if it doesn't have one. Things that come with irregular shapes could be pretty challenging to wrap in beautiful ways, so it's best to use gift boxes. Not only will this make the wrapping easier, but it will ensure the condition of your gift item.
- Scissors and cutters
Whether you're more comfortable using either scissors or cutters, you should choose one that has a sharp blade. It’ll make your cutting technique smoother and more professional-looking. Find the right quality of scissors and ensure to keep them clean as they can leave visible marks on your gift-wrapping paper.
- Scotch tape or double-sided tape
It's a matter of personal preference, you can use a regular scotch tape, but if you want the tapes to become invisible from the outside, double-sided ones will give you that illusion.
- Ribbons and other accessories
Lastly, choose the right colour combination of ribbon and accessories that’ll overall match your gift wrapper. The goal is to ensure that everything will be put together perfectly. There are many ribbon types and colours to choose from and gift wrapper accessories that can highlight the gift more.
- Secure fragile items
While you may have already placed your gift inside a box, it's still vital to make sure that fragile items won't break when the box is tossed around. Hence, secure the fragile item with bubble wraps or parchments inside the box. With this, they won't break nor get damaged no matter what the box's position will be.
- Measure and cut the wrapping paper
Next is to proceed to the exact wrapping step. Calculate how much paper will be needed. Use the same amount of length of paper on both sides so that the wrapping will be proportional. Having too much than not enough paper is always better.
Overlap the paper from one end to the other, and bring the opposite edge where the paper meets the box. Calculate how much extra wrapping paper you will need to cover the uncovered side of the box before you finally cut the wrapping paper. Try to cut in a straight manner as much as possible. Use folds as your guide.
- Fold and tape including both ends
Overlap the paper and tape seams on the bottom of the box. Place the tape to seal ends. You can do the same on the opposite side as well. Ensure that there won’t be unsealed spaces, so place tapes wherever necessary, but keep them smooth and clean looking.
- Remember to get rd of the excess paper
Ensure that the bottom flap lines up with the top of the box perfectly by folding any extra paper under it. You have the option to cut and eliminate the excess papers totally or just fold them towards the inside.
- Add finishing touches like ribbons and decorations
Finally, make your gift looking more elegant and beautiful by adding some ribbons and other decorative elements. You can place ribbons, gift tag ideas, bows, stickers, or washi tapes. You can think of any design that will match the occasion and the personality of the recipient.
Conclusion
Now with the easy steps like 1,2,3 mentioned above, you'll be able to figure out how to wrap your gifts by yourself. Get ready to receive compliments and wows from your loved ones and friends as they receive your professionally-looking gift-wrapped presents!