


Fun and Cute Sewing Projects Anyone Can Easily Make
Are you bored at home with nothing to do? Don't worry anymore; you can keep yourself busy by sewing. Sewing is one lucrative activity you can do during your free time and does not require much expertise and materials. You don't have to carry out the expensive designs and such. You can take the simple sewing projects just for fun and use the finished products to furnish your home or use them in your day-to-day activities. Get yourself some threads and materials, and keep on this article for some simple sewing projects. Here is the list.
-
Embroidered House Pillows
Do you know you can easily make your house pillows from the fabric lying around your house? Yes, it's straightforward. You can use simple materials and come up with something meaningful for your coach. What do you require for this? All you need are a sewing machine, scissors, fabric marker, embroidery needle, iron, and a printable tablet for the tools. For the materials, you need wool felt, sewing thread, and ½ yard of cotton fabric: you can use a fabulous printed fabric if you are a lover of prints, embroidery thread, polyester batting, and fiberfill. Below is the process:
- You need to print and trace the template. This idea is applicable if you already have the design. If not, you need to create the design first.
- Make the pillows home. Face the fabric cutouts together and sew them to create a home. Leave about ¼ inch of the seam allowance at the edge of the fabric.
- Use a hot iron to flatten the seam open.
- Give them some trimming to create a personality. You can cut images from the wool felt sheet and patch them to the pillow using the sewing machine. You can use the embroidery thread to come up with better patterns.
- Once you have attached the images, you can now attach the front piece to the back piece.
- Sew along with the parameters, leaving the bottom part open to be stuffed later.
- Fill the pillows with the fiberfill and close the pillow's base with a thread, using the sewing needle. Your pillow will be complete and ready for use.
2. Face Pillows
Ever needed some cute, decorated face pillows for your house? Do not worry, since you can make them by yourself. What do you need for this? You require pillowcases, pillow inserts, yarn needle, wool yarn, and transfer paper for the design, a pencil, or a fabric pen. For the process, you can follow the below:
- If you have a pattern on your computer, you can transfer it to the paper or draw your own.
- Put the square pillowcase flat, and then lay the transfer paper on with a carbon paper in between.
- Trace the pattern using a pencil to allow it to appear on the pillowcase through the carbon paper.
- Stitch along the pattern you have marked – stitch from inside to the top layer. You can use the back stitches for the straight lines, satin stitches for the mouth, split stitch to cover the hair, and for the freckles, you can use the French notes. Ensure you bring out the authentic textures to represent the face.
- After you have completed the pattern, tie all loose ends inside the pillowcase, stuff the pillows, and display them. Your face pillows will be complete.
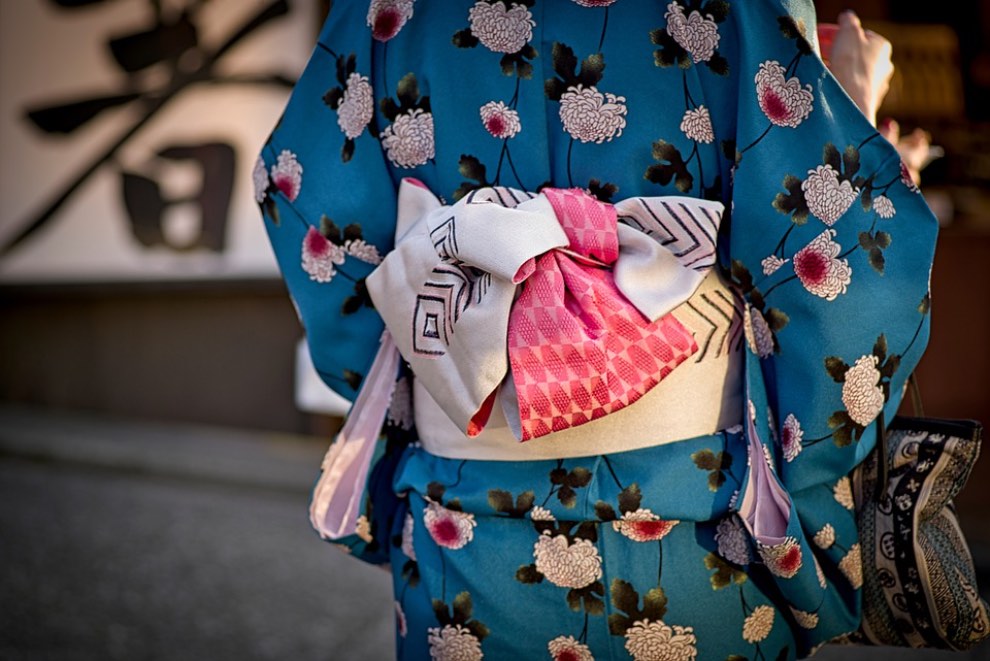
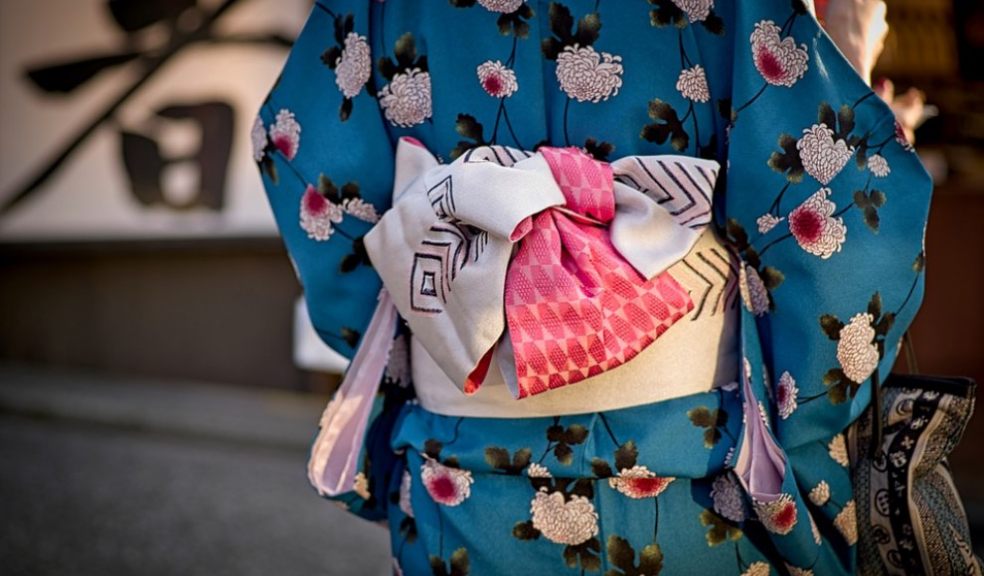
3. Kimonos
Kimonos are all over nowadays and might be costing a lot if you happen to live in areas where the demand is high. Do you know you can make them yourself? Yes, by following some simple processes, you can come up with your kimono and maybe even sell some. What do you require for this? For the materials, you need a 40 by 55-inch piece of fabric. You can use cotton fabric, silk or even lace. Tools you require are a sewing machine, tailor's chalk, pins, ruler, and scissors. You need to follow the below process:
- Take the piece of cloth, either chiffon or silk. Fold it into half and ensure the wrong side is facing you.
- Measure 6 inches downwards and 6 inches inwards and mark them with the tailor's chalk.
- Join the marks and draw an L-shape. Repeat on the other side.
- Pin the drawings and cut out the excess material. Sew the seams together.
- Take a ruler, find the middle of the rectangle, and cut it from top to bottom. Ensure you cut only the top layer of the fabric.
- Fold an inch of the fabric from the center of the kimono, repeat on the edges, and sew. This design is simple because it does not require buttons or any other fasteners. However, you can put fake buttons.
4. Fleece and Flannel PJ Pants
If you want to make some fleece and flannel PJ pants, the tools required, and the process is straightforward. Anyone can do it comfortably. What do you require for this? First, you need a pattern. You can buy or create one. It would help if you had fabrics, a sewing machine, basic sewing supplies, iron, and the pressing surface. Follow the below easy steps:
- Sew the PJ pants according to the patterns and instructions you acquired.
- For the fleece and flannel, you require using the sewing machine. Adjust the foot pressure to accommodate the thickness of the material before starting.
- For the thread, use polyester thread since it's vital for the fleece, while for the needle, you can use size 80/12.
- Start by stitching 7 to 9 stitches per inch to have strong stitches.
- For flannel PJ Pants for stuffed animals, use anti-pill fleece to get a durable finished toy.
- Since fleece does not frail, it's best to use it for making dolls and stuffed animals. You can cut out the details, including eyes and mouth, without fraying the material.
5. Skinny Jeans
Did you know you can turn your old boot cut jeans into skinny jeans? Yes, it's possible by following some simple steps. What do you require for this? You need old boot cut jeans or any flare jeans, a sewing machine, zippers, and a sewing pin. Here is the process to guide you:
- Please put on the jeans, inside out, and put some hooks on the outer seam to tighten the calves. The part you need to pull should be longer than your zipper.
- Carefully take off the jeans to avoid removing the pins or them pricking you.
- Cut off the excess fabric after the pins. You will not need a seam allowance since you will be sewing along the cut edge ends.
- Align the zipper, ensuring the bottom fits well with the hem of the pants. Make a few dots at the zipper top to signify its starting point.
- Start stitching the zipper until to the place where you put the mark.
- Open the zipper, pin one side down and sew firmly while holding the seam wide open. After getting done, sew the other side as well.
- Trim off the excess zipper, and you will be done. You can seal the zipper ends to avoid the fabric threads from coming out.
- This process will make your jeans look good, and you can unzip to create a different look.
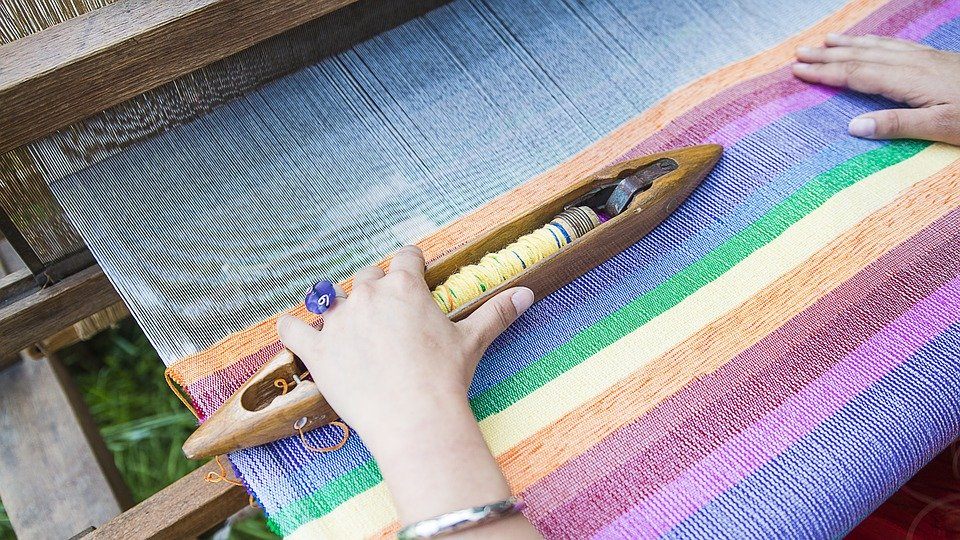
6. Woven Rug
You can make a small woven rug for your house using simple materials and steps. You can use the below process for a cute woven rug, worth your taste. But first, we need to check on the materials. You need three king-size bed sheets, preferably cotton, a 23" by 43" cardboard, masking tape, fabric scissors, a ruler, and a chalk or marker pen. Below are the steps:
- Use the ruler and the marker to create a mark after every 2 inches on the bed sheets' longest side. Make a cut of 2" at every mark.
- On the cuts, rip the fabrics apart to tear the sheets evenly. Do this on every sheet to come up with even strips—separate strips by color and pattern.
- On short ends of the cardboard, start 2 inches from the end and mark 2 inches long lines every two inches. Use scissors to cut slots on each mark.
- Gather three fabrics of different colors into one group, fold in half lengthwise, and put an end into the first slot. Put the others too on the corresponding spots with opposing sides. Repeat the process on each strip on the cardboard until each slit is covered.
- Get one color as a weaving strip. Begin to weave the strip over and under until you finish the whole length of the laid strips. Ensure you leave 6 inches at the beginning spot. Do so until you cover the whole board.
- Trim off the finished ends and fasten the loose ends to come up with a complete woven rug.
7. How to Come up with a Pocket Dress
Have you ever purchased a dress and later found out that it requires some pockets? If you are in such a situation, you can create these pockets easily by yourself. What do you require for this task? You will need the dress, a flannel fabric, sewing machine, scissors, a marker, and the seam ripper. For the process, please follow the below:
- Place your hand on the flannel fabric and draw a sizable oval around your hands to create a pocket. Cut out and repeat with the other pocket too, to come up with two pockets.
- In each pocket, sew out the edges to come with well-shaped pockets.
- Turn the dress inside out and take some measurements from your waist till the top of the pockets. It's usually eight inches. Using the marker, make some markings on where the pocket will start and end. Use the seam ripper to remove stitches in that area. Ensure you don't go beyond. Repeat on the other side of the dress.
- Turn the dress, right side out, and fit the pocket in the new hole. Fold dress seams into the edge of the flannel and pin them.
- Get into the machine and sew around the edge of the pockets.
- Remove any loose threads and iron any creases. Your pocket will be complete.
8. Comfy Seat Cushions
Are your seat cushions old? If so, you can easily make some by yourself. Seat cushions are effortless to make and won't take much of your time. Here is what you need for the whole process. You need some fabric, 1-inch form, or any size depending on your desired thickness and a strap for the materials. You need a sewing machine, thread, needle, measuring tape, sewing scissors, and some pins for the tools. Below are the instructions:
- Measure your chair
- Cut out the foam according to the size of the chair. Use excellent equipment to avoid spoiling it
- Fold the fabric and cut one piece according to the seat's size, adding an inch or plus a half for the hem.
- Cut the straps. They should be for inches long.
- Place the fabric on the seat and locate the areas you need the straps.
- You can stick straps together by overlapping them, usually by an inch and a half. With one side attached in, place the strap on two pieces of fabric, leaving half an inch hanging from the material. Do the same to the other straps.
- Sew the two open edges of the cushion material. Sew along the straps to secure them firmly. The folded side needs no stitching.
- For the last side, sew only half size and turn the cushion inside out. In the case of wrinkles, iron the fabric.
- Insert the foam and ensure it settles nicely on the cushion fabric.
- Stitch the open section.
- Put your cushion on the seat of the chair and attach straps to the back of the chair. Your work will now be complete.
There are various sewing ideas that you can do at home, apart from the above examples. All that is needed is choosing the best materials and tools for a start. The items listed above can't take even an hour for anyone to make them. You can do different things, including clothes, home decorations, bags, and much more. The list is endless. The list above will help you come up with something useful for yourself, your house, or even a gift for your friends.