


A beginner's guide to tiling
Choosing the right tile can make or break the aesthetic of your home, it is the cherry on top of any interior design project. Tiling can drastically spruce up lackluster floors and boring walls, that are currently a far cry from what you envisioned. Tiles not only add just a splash of color but character and texture as well. With the large variety of tiles to choose from, there is definitely something for you. It may seem like a complex task to start especially if you are not sure how to begin, but this comprehensive guide will help you kickstart the preparation process.
Choosing the right material
Apart from looks, the functionality and purpose of the tile should be considered as well. Not all tiles are built equal, some materials are much more suited in a kitchen, whilst others will be better in a bathroom. For example, a bathroom floor would probably require waterproof or water-resistant tiles that are not slippery. Tiles used in a kitchen need to withstand food and oil residues and should be easy to clean, so using a poriferous material may not be the best idea. If you are tiling a walk-in shower, remember to tank the room to ensure it is completely waterproof.
If you are unsure, consult a professional and do some research to make sure that the tiles you have in mind are good for the job, they may even offer similar alternatives that are more appropriate for you.
Consider the size of the tile
Ensuring that you are picking the right size is very important, large tiles tend to crack especially if they are placed on uneven surfaces. To combat this you will have to plaster the wall so that it is level, or add a new subfloor on the ground. It may require some time and money but it will be worth it. Changing out a tile is a large hassle, so make sure that the surface is flat and ready for tiling and you will be good to go.
Design your tile pattern
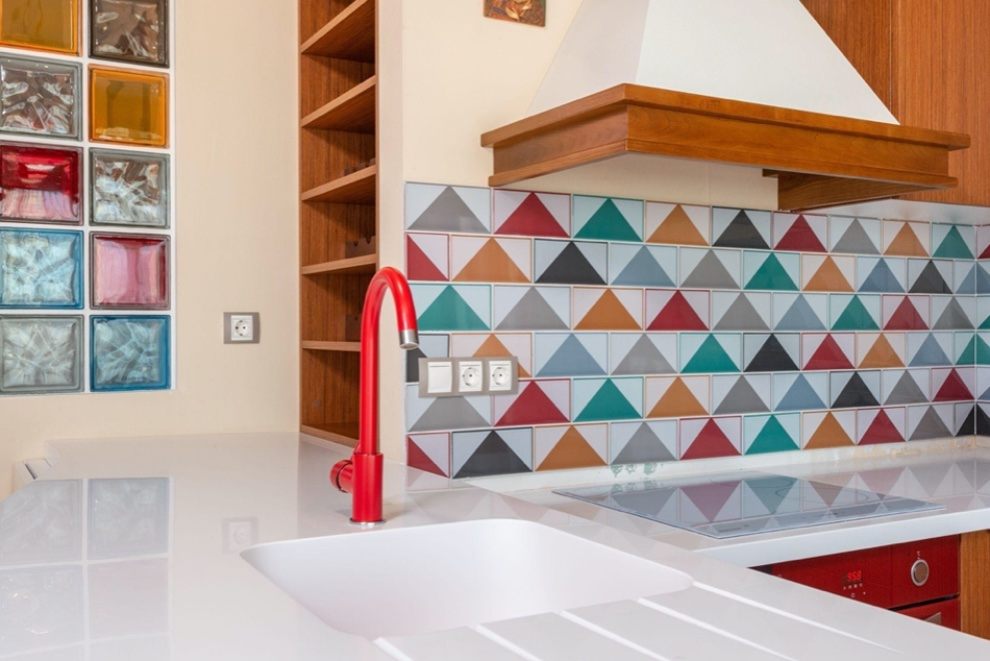
There is a myriad of patterns and designs to choose from, depending on the size and shape of your tile. If you would like to use an offset arrangement, make sure to find out how much you can overlap them, as longer tiles are prone to lipped edges. Sketch out and brainstorm a few diagrams, you could even use a few makeshift tiles and rearrange them on a table to see which appeals to you. Once you have decided on your final design, snap a picture and jot down the measurements and markings.
Calculate the number of tiles you need
Pull out your calculator and tape measure, this step is crucial especially because many people are worried about ordering too little or too much. Trying to crunch numbers may be tough, but a great tip is to divide the surface up into small sections, you can draw it or write it down. From there, figure out how many tiles are required in each section. This will make the whole process easier, as compared to trying to calculate everything together. After finding the sum of all the sections, factor in a 10 percent allowance by multiplying it by 1.1, and voila! That is the number of tiles you will need to order.
Decide on the finish
Tile edges are not only a huge eyesore, but can also cause a safety hazard and compromise the strength of the tile. There is a large variety of tile trims available on the market from metal or plastic. These strips are used to protect the perimeter of your tiles from damage. You can also choose to use bullnose tiles or pencil tiles to finish off the edges. There are a ton of options out there, you will be sure to find a finish that matches your tiles and fits the look you are going for.
Everything else in between
To fill in the gaps in between the tiles, grout is super important for any tiling project, as they give allowance for tiles to expand when there are changes in temperature or exposure to liquids. You can find grout in many different colours — some opt for a color that contrasts their tiles for a modern, edgy look, whilst others prefer a more seamless look hence they pick grout that matches the color of the tiles. It is up to you to find the grout that suits the look you are going for, however, if your tile is not opaque, there is a likelihood that the grout will show through the tile. Do take into account the spacing between the tiles filled by grout, this is called the grout line. There are no hard and fast rules to how thick or thin your grout line is supposed to be, but the general rule is to stick to two to three millimeters on walls and three to five millimeters on floors.
Additionally, you will need a sealant, like silicone. It will be used to seal corners or the intersections between tiles and another surface. We recommend picking a color that is similar to your tile or the adjacent surface so that it looks seamless. Lastly, ensure that you’ve got the right quality tools too — like the ones at Landmark Tools.
Quality check your tiles
Once you have placed your order and your tiles have arrived, the most important thing to do is to check them through. You do not necessarily have to examine every tile, but conducting a random check through a few boxes is a must. A couple of tiles might have been cracked in the shipment, this is normal especially if the tiles are made of a fragile material. However, if there is a large amount that comes in damaged be sure to contact your supplier as soon as possible to avoid holdups.

Conclusion
Tiling your home is not as daunting as it seems, once all the materials are ready then the hardest part is over. The most important tip is to do a detailed plan and communicate clearly with your contractor, and you are good to go! Be sure to check in with your contractor regularly, it will provide peace of mind to ensure that everything is running smoothly and watch your vision come to life!